How to insulate a conservatory roof in six easy steps
11th September 2017
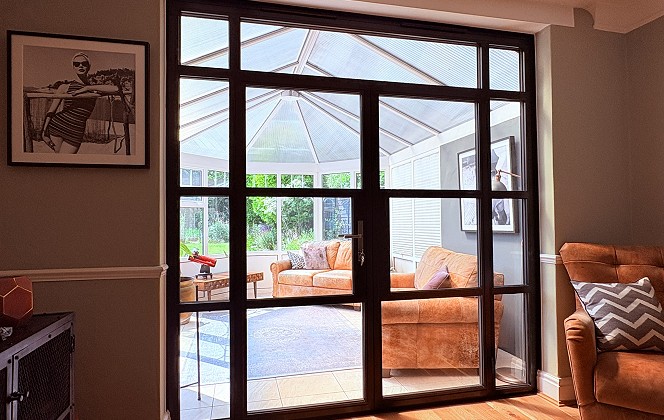
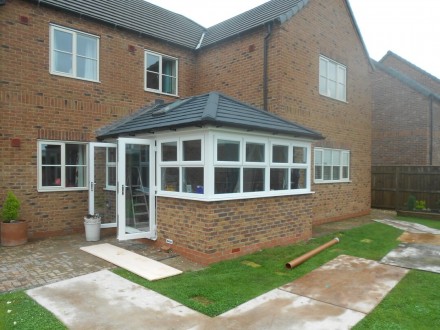
A properly insulated conservatory roof can provide you with a much more comfortable living space.
Thanks to the latest innovation and design, we now fit two replacement conservatory roof systems which will transform any existing conservatory into a useable year-round space.
It doesn't matter whether you prefer the Hybrid or tiled conservatory roof, they'll both create a living area which is warm and light.
Here's the six-step plan we follow to efficiently insulate a conservatory roof...
Step One
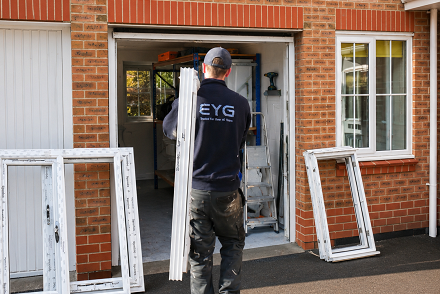
Our professional property surveyors arrive at your home for an initial design consultation to discuss your requirements and assess the condition of your existing conservatory.
Once it has been checked, we advise you if the conservatory structure itself has any problems which may need addressing, such as leaks, damp or poorly fitted panels.
At this point, you will be advised if it is strong enough to withstand the weight of our replacement conservatory roofs.
With two different styles available, we find that there’s usually a suitable solution for most homeowners. However, if an installation could pose potential problems in the future we would always advise you of this.
But you can rest assured that at no point would we encourage you to install a roof which is not going to provide 100 per cent value for money.
Step Two
Having outlined the schedule of works and agreed upon the finer details, we design a completely bespoke replacement roof and sub-frame to install on your existing conservatory.
Made from lightweight aluminium that will not rot or warp, the sub-frame is installed on to the existing wall and remaining glazed structure. All components are precision cut to size, providing a perfectly finished surface on which extra layers of insulation can be attached.
Step Three
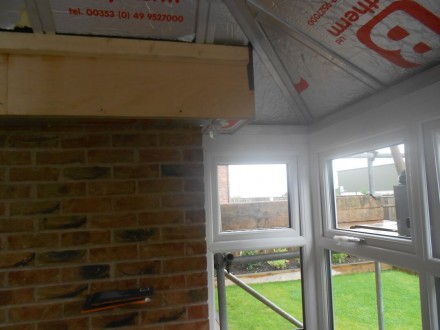
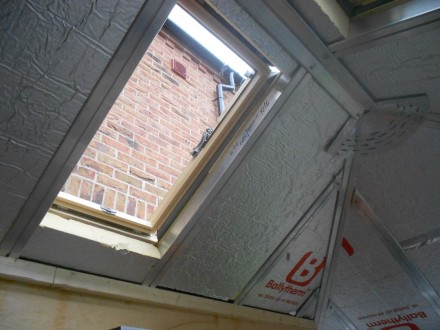
The next step is to install fire-retardant insulation, made from multiple layers of a foil vapour barrier, to cover the entire roof structure. This extra energy-efficient membrane restricts air movement and prevents air leakage to ensure your conservatory stays warm in winter, whilst enjoying much more regulated temperatures in the warmer months.
Any electrical cables which are required to power the overhead lighting are also fixed into place and checked at this stage.
Step Four
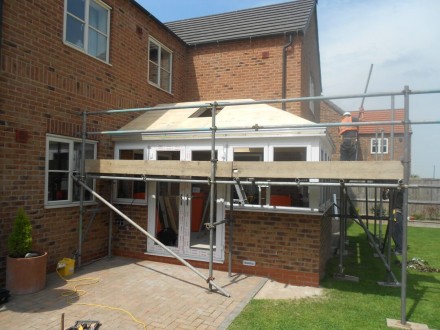
We now turn our attention back to the outside and the installation of the external water-tight roof layer to the aluminium subframe.
If you opt for a tiled conservatory roof, we begin to attached the coloured tiles of your choice to the outer wooden layer, before tying the new roof into your existing property’s bricks with lead flashing. Checks are then made to ensure it is resistant to wind, rain and snow.
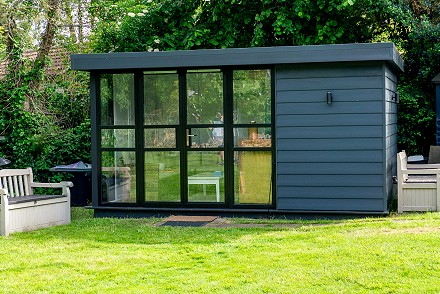
If we are installing a Hybrid roof, which is made up of glazed and aluminium panels, we ensure it is correctly aligned and sealed to protect you and your home from the elements.

Step Five
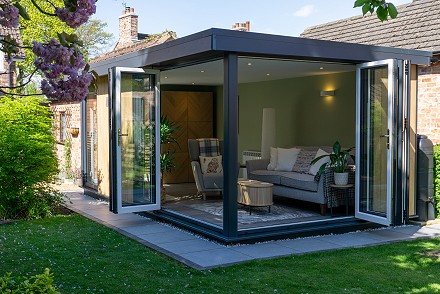
Completing the interior to the highest possible standard is now the top priority. In most cases, a plaster finish is used to create a new internal ceiling which can be painted or decorated as required. If you prefer, we can also use uPVC cladding to finish the interior ceiling. Both of these will follow the contours of the new roof to form a stylish focal point.
Step Six
Once we are happy that the new installation meets our high expectations, we check it over alongside our customer to make sure they are completely satisfied. This is the perfect opportunity to highlight any minor snags and, if necessary, we can resolve them immediately.
To provide added peace of mind, we also explain that all workmanship is covered by our ten-year warranty – guaranteeing that if any issues do occur in future we will endeavour to fix them promptly.
All that’s left to do now is tidy up – and leave with a smile on our face at a job well done!
Start your replacement conservatory roof project!
For a free no-obligation quote, please get in touch or call 0800 181888 now!

-
Couple delighted as heritage door gives their new EYG Garden Room a ‘stylish, unique and modern’ look
-
Building Regulations for Home Improvements in 2026: What Homeowners Need to Know
-
How We Created a Year-Round Living Space Without an Extension
-
Why Conservatories Get Too Hot in Summer and Too Cold in Winter; And How Homeowners Fix It